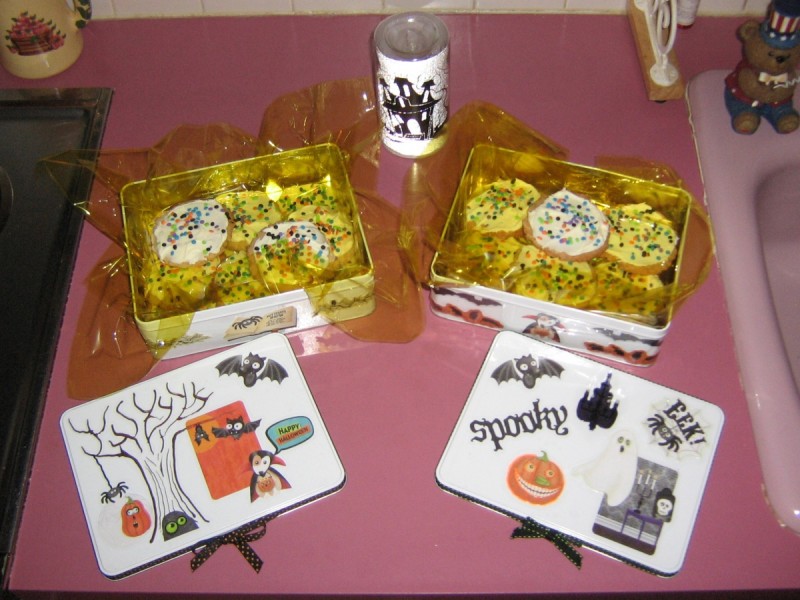
Decorative Cookie Tins
There were often times during Buddy's deployments where I wanted to include something special, but either the current craft I was working on was not completed, or I had no crafts in the making at all. Either way, hand decorated cookie tins always added a bit of pizazz to an otherwise hum-drum care package. In addition, this type of project can be used over and over again. Just two months ago, I decorated some containers for cookies to include in a birthday care package to my son. This month, I am using a Halloween theme for the tin of cookies that I am getting ready to send off.
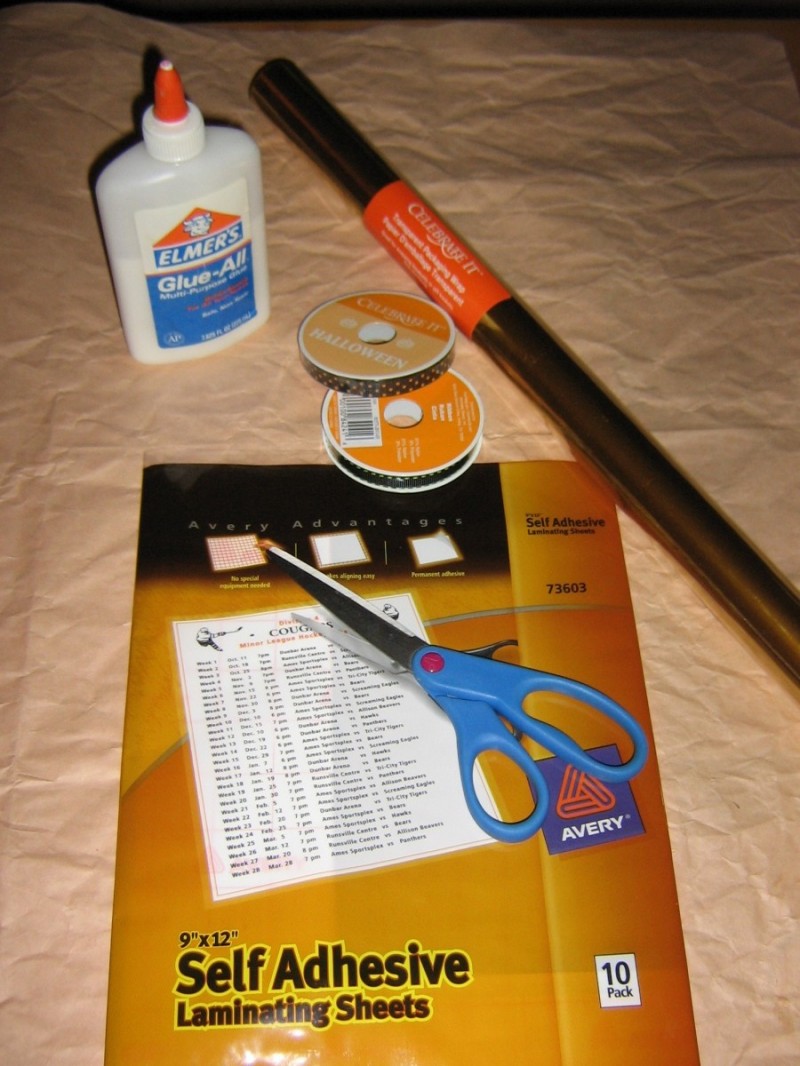
Tools:
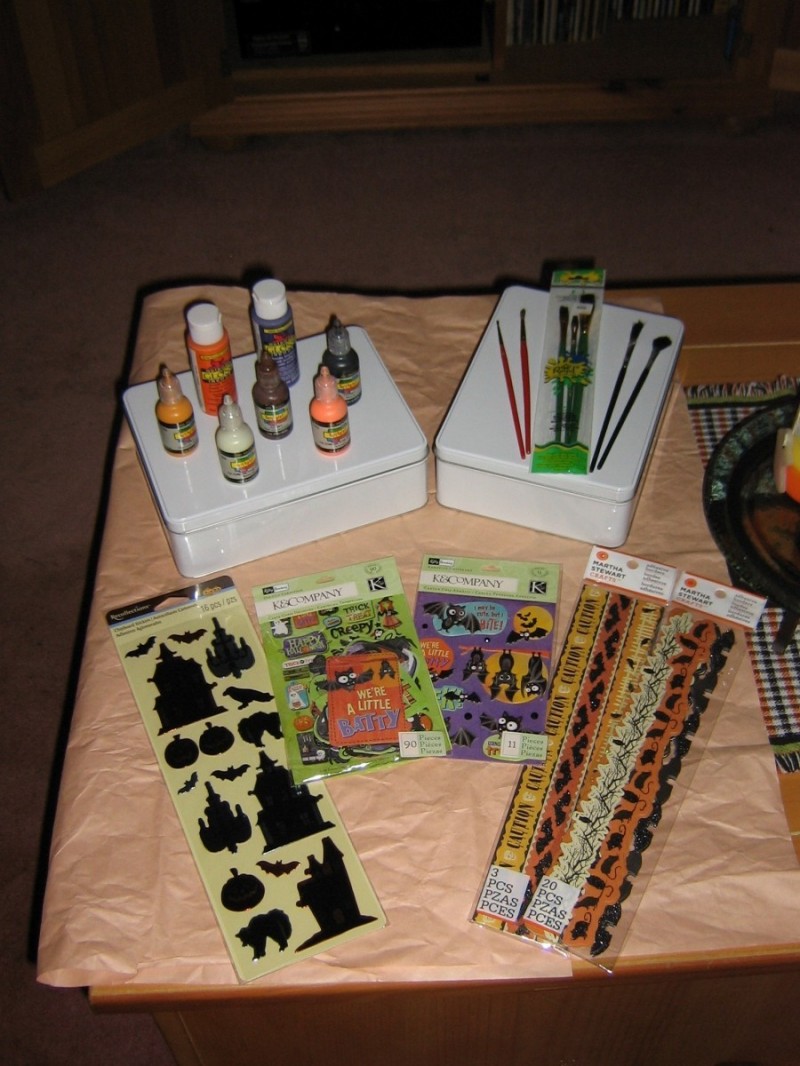
Materials:
Instructions:

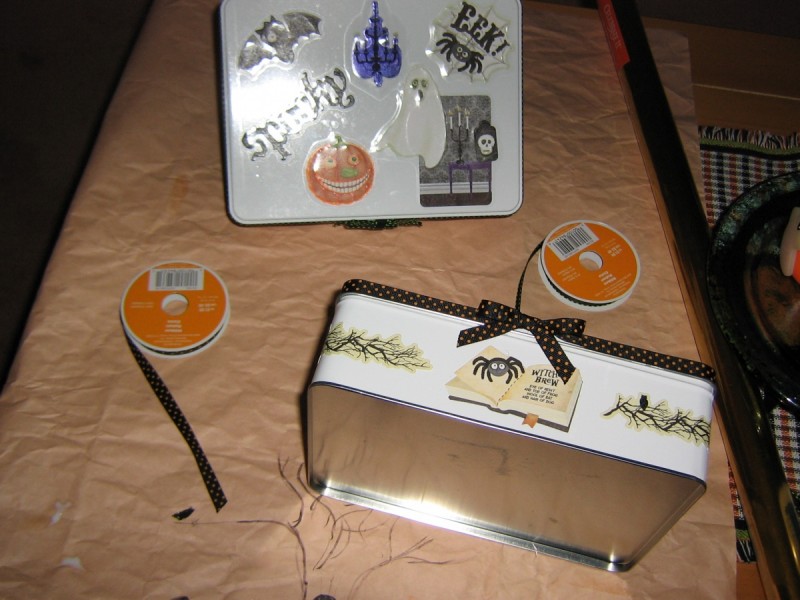
- Wash the tins in warm, soapy water and dry thoroughly.
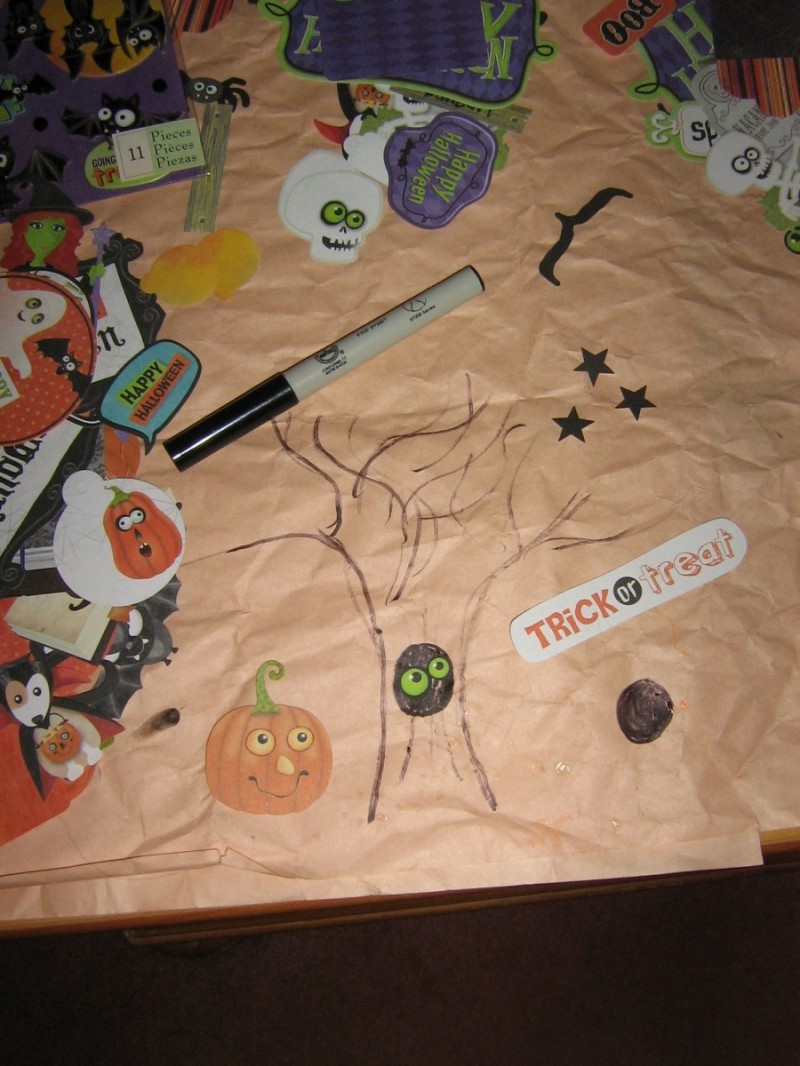
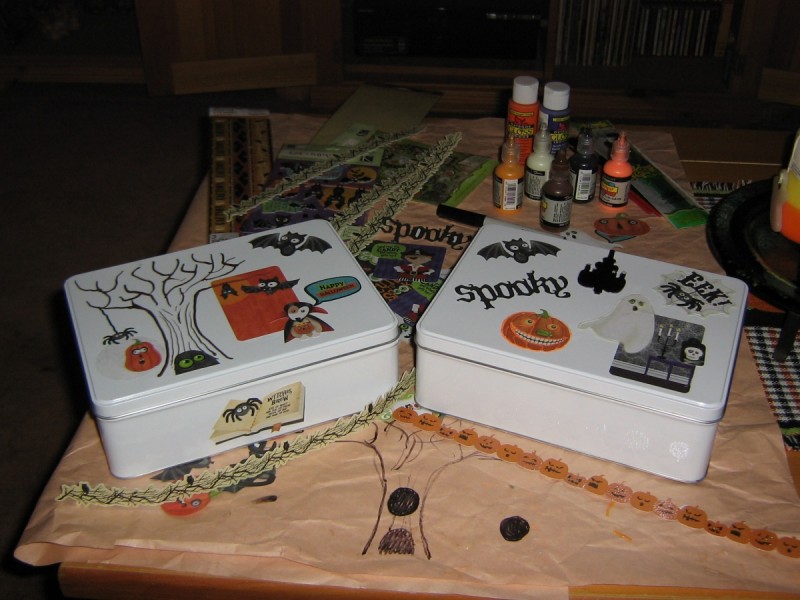
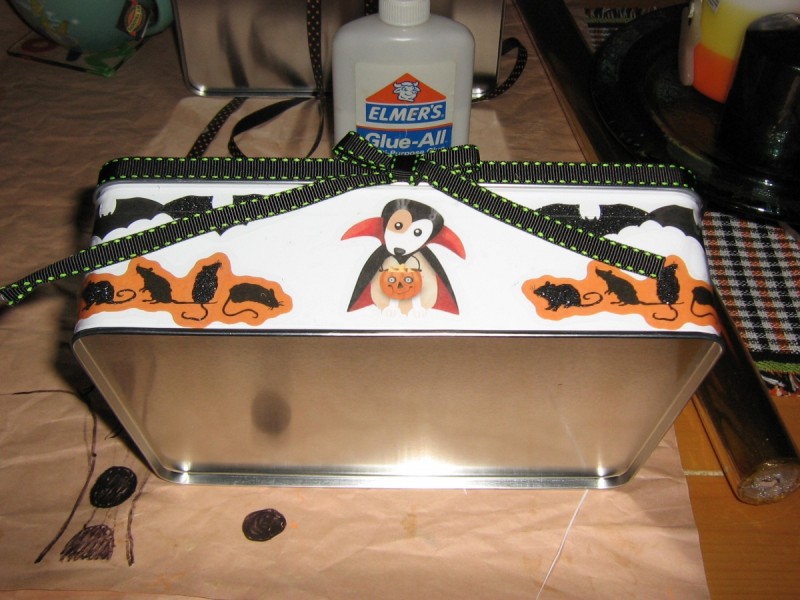
- Lay out all the stickers, appliqués and borders to get a good idea of what there is to work with and decide what you want to use.
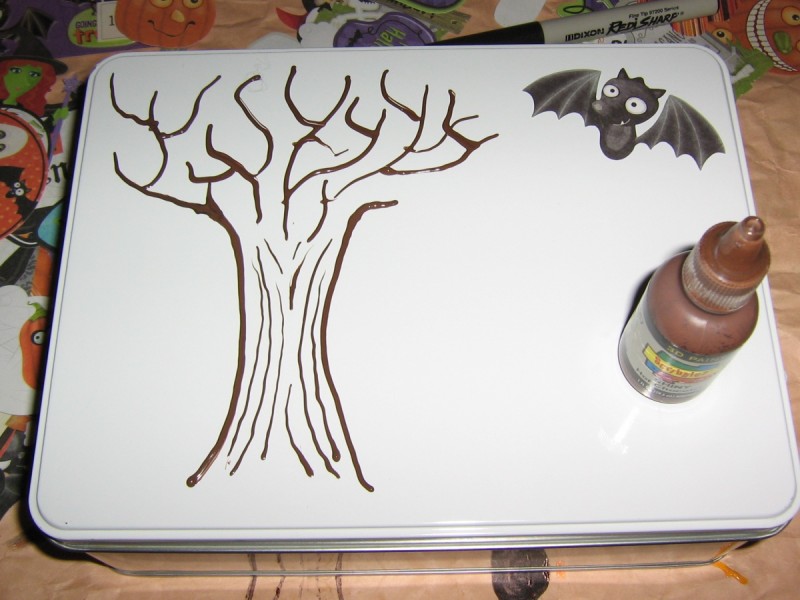
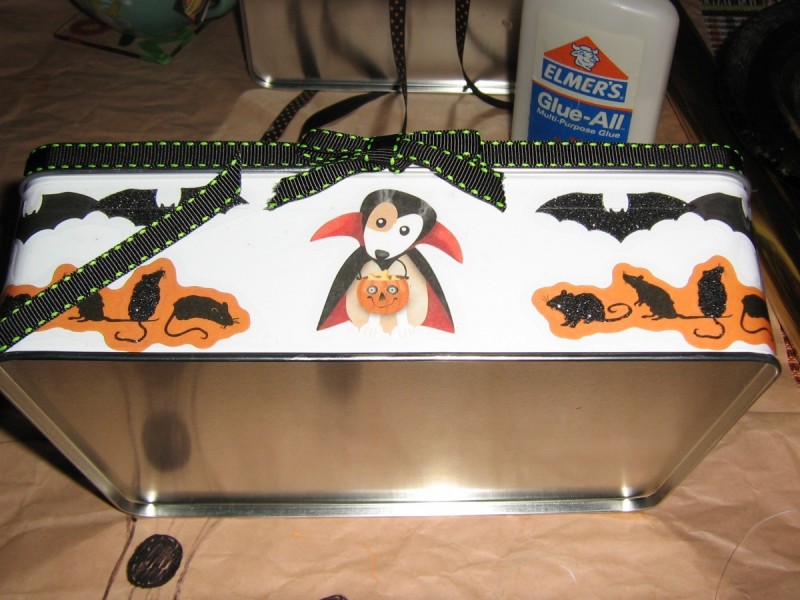
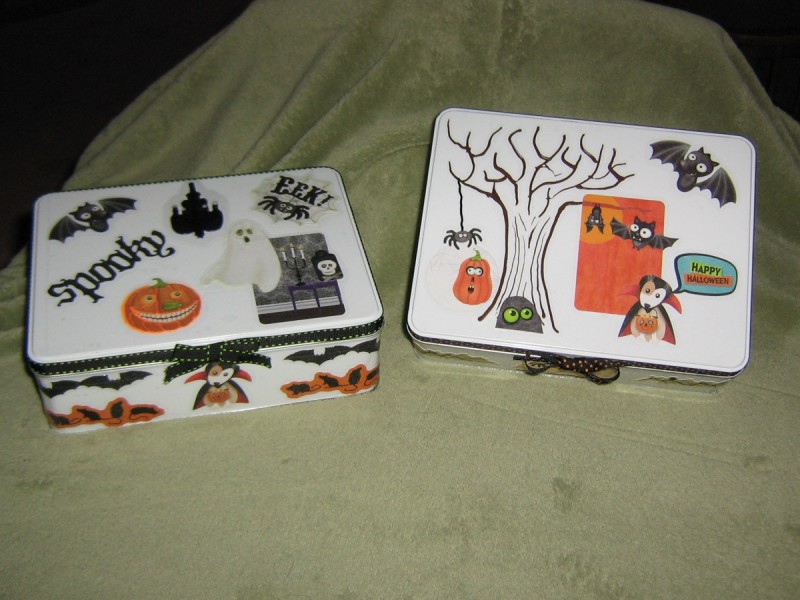
- Create a design around what you have chosen and once created permanently apply design to the tin. If you chose to use paints in your design, make sure to give the paint enough time to dry before attempting to add stickers to it, or move on to the next step. It is best to keep the design away from the very edge of the tin by an eighth of an inch or so.
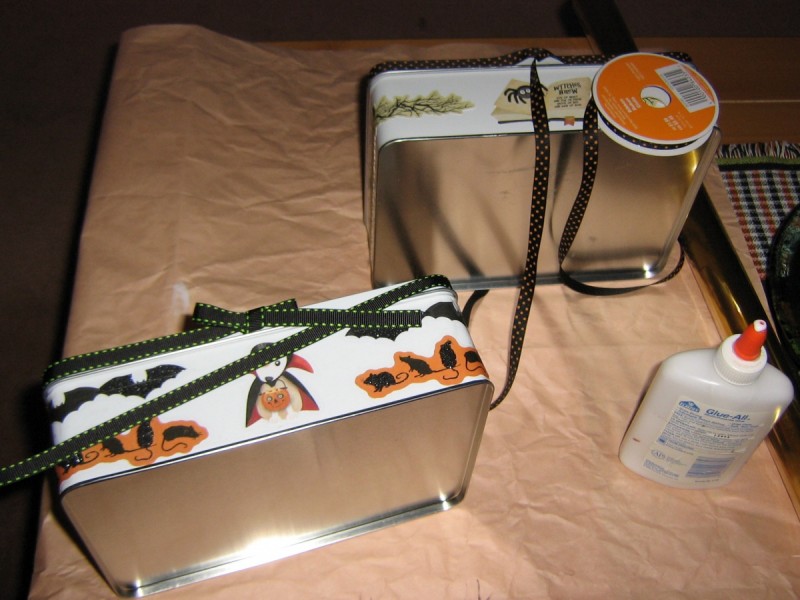
- Do not forget the sides of your tin when deciding how to decorate it. The self adhesive borders are good for this part of the design.
- To prevent the stickers from shifting or falling off, cut a self adhesive laminating sheet to the size and shape of the top of the tin.
- Fold down the backing of the laminate sheet by just an inch or less. Using the opposite end of the laminate sheet, line the sheet up to match the edges of the tin top.
- Once lined up press down the adhesive exposed end of the sheet to the tin top. Smooth out all trapped air bubbles as much as possible.
- Working from that end, slowly pull the backing off of the laminate sheet, pressing the sheet to the tin top as the backing is removed, and smoothing out all trapped air bubbles as you go.
- Repeat the process for the sides of the tin as needed.
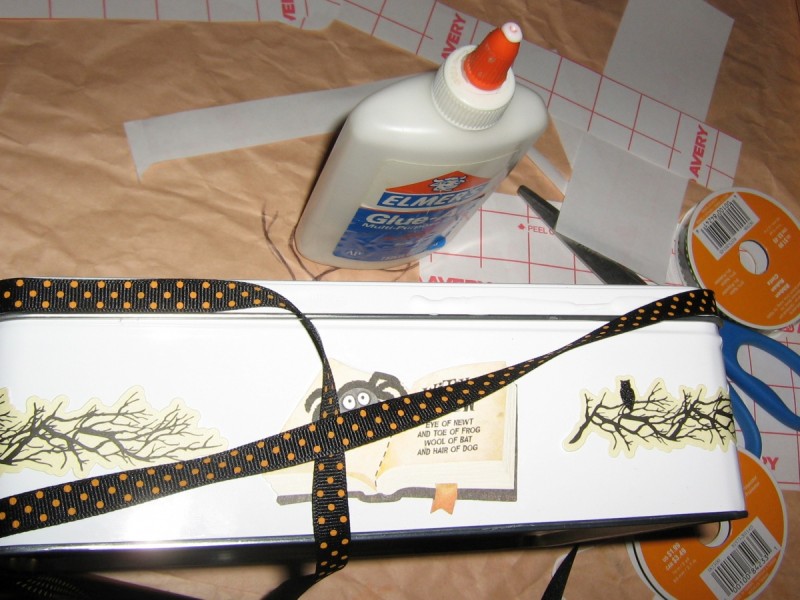
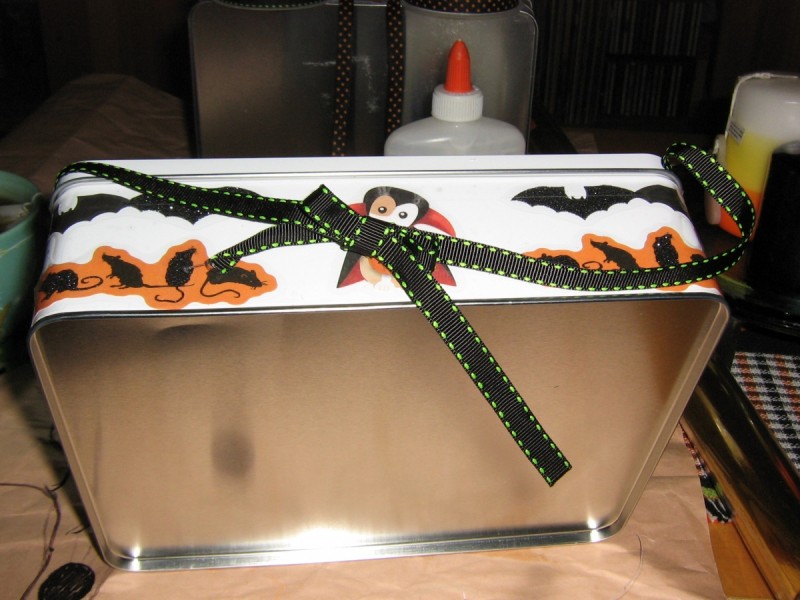
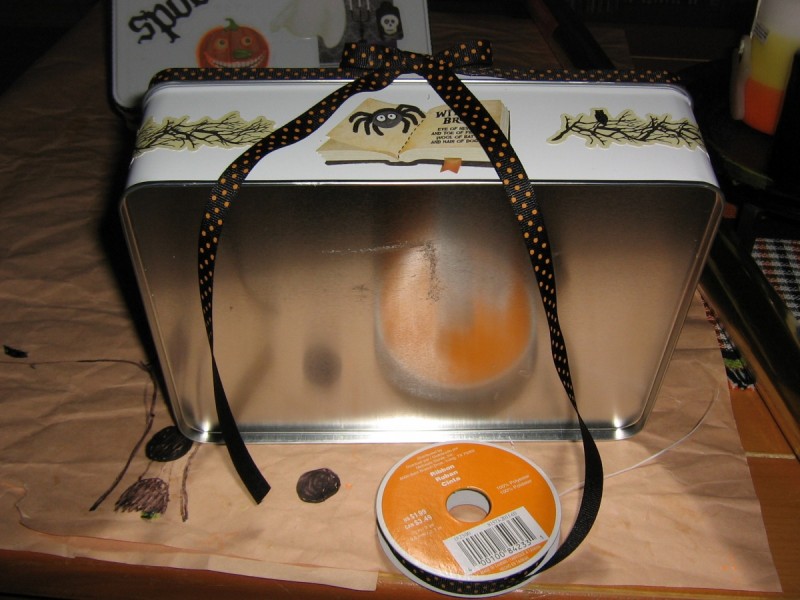
- To add a final bit of flair to the tin, use a cloth ribbon to decorate the tin top. Choose one of the following two methods to do this, or maybe a technique of your own.
-
Glue the ribbon to the edge of the tin top first, leaving an unglued length of ribbon at each end, a small gap where you want the bow to be. Allow the glued ribbon to dry thoroughly. Tie the bow with the unglued ribbon. Adjust, tighten and clip the ribbon ends to an appropriate length.
OR
-
Loosely tie a small bow at one end of the ribbon. Place the center of the bow where you want it to sit on the edge of the tin top and leaving enough room to work with the bow, glue the ribbon to the tin top edge. Adjust often to make sure that, after connected, the bow will be where you planned. Also, make sure to leave an unglued length at the none bowed end and enough room to complete the bow. Work the loose end through the back of the bow. Apply glue to the tin top behind the bow and unglued areas of the tin top edge. Tighten the bow, around the tin top edge. Adjust and clip the ribbon ends to an appropriate length.
-
- Line the tin with aluminum foil, or with colored cellophane. (I tend to like the colored cellophane for an extra festive feel to the tin.
- Loosely fill the tin with cookies. If the cookies are frosted (like the Autumn Spice Cookies are) consider putting a layer of the cellophane or plain waxed paper to prevent the cookies from sticking together during shipping.