Project of the Month
Here’s where you can go to see the project of the month… Here’s where you can go for previous projects
Here’s where you can go to see the project of the month… Here’s where you can go for previous projects
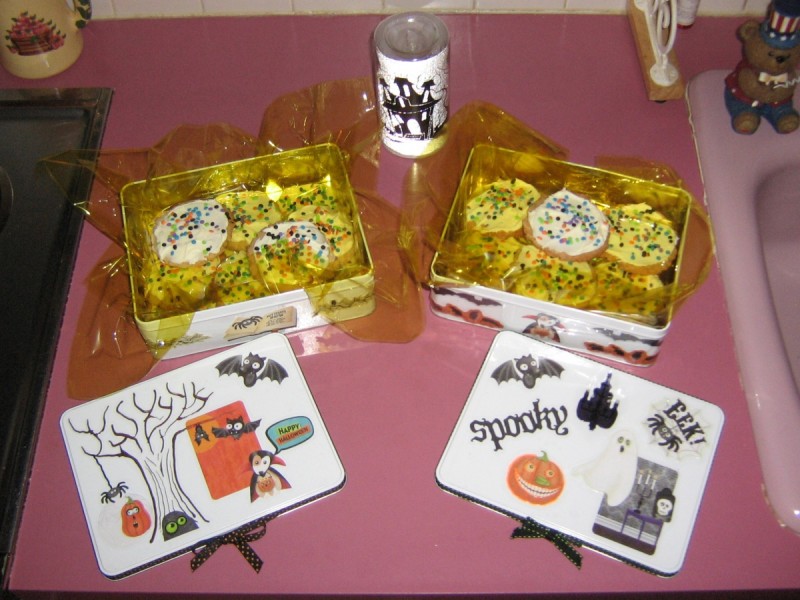
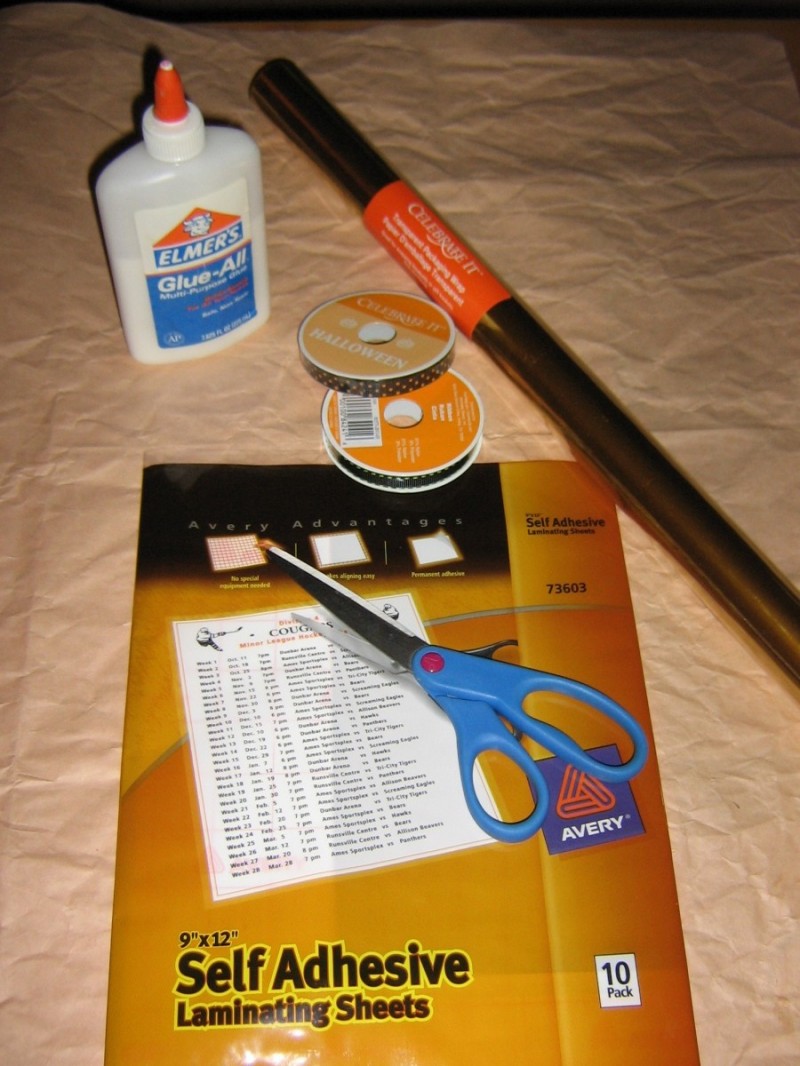
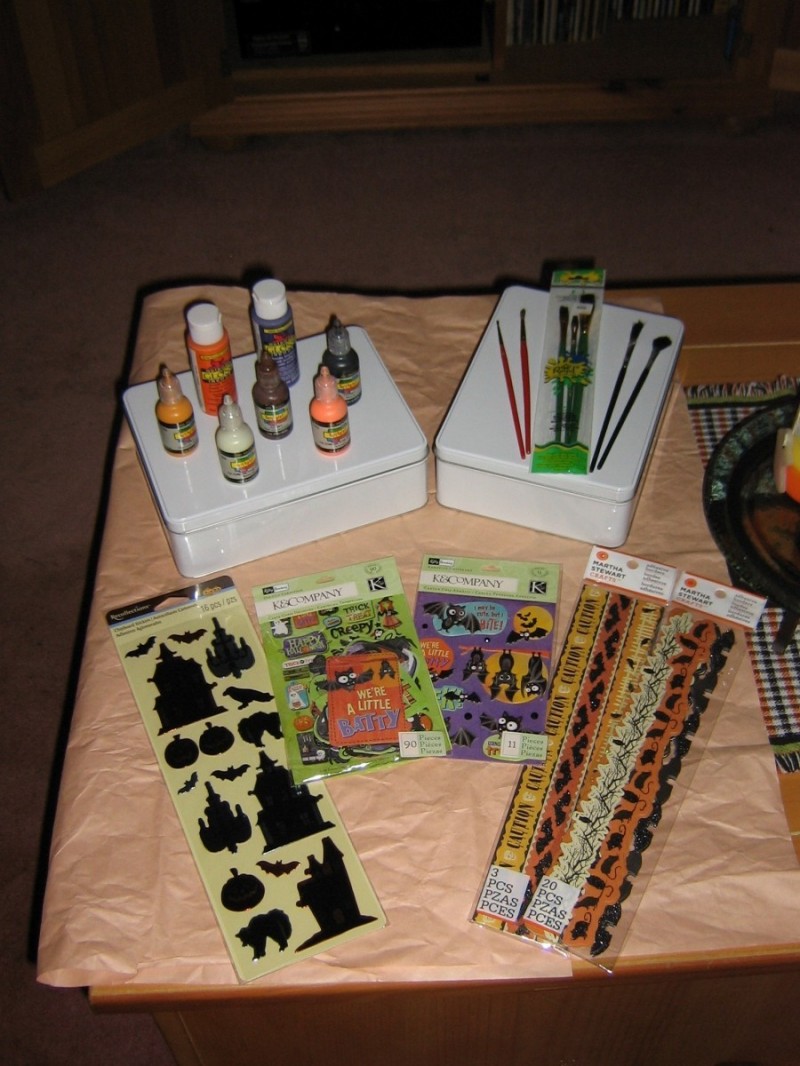
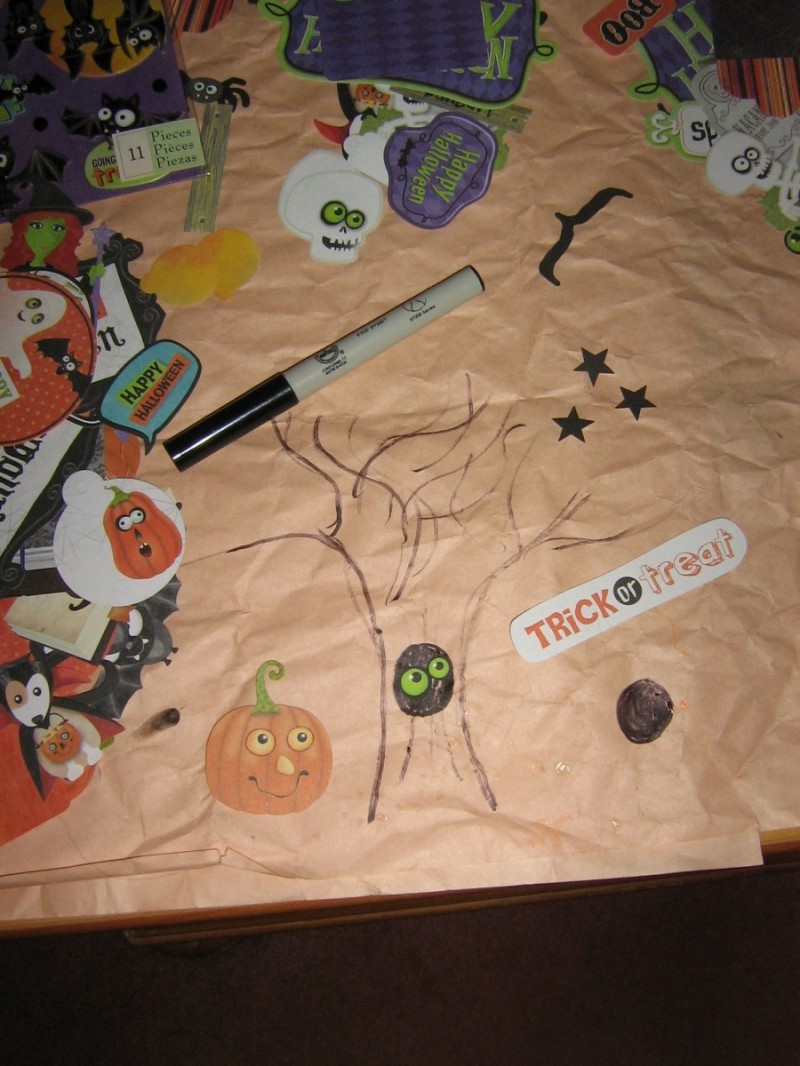
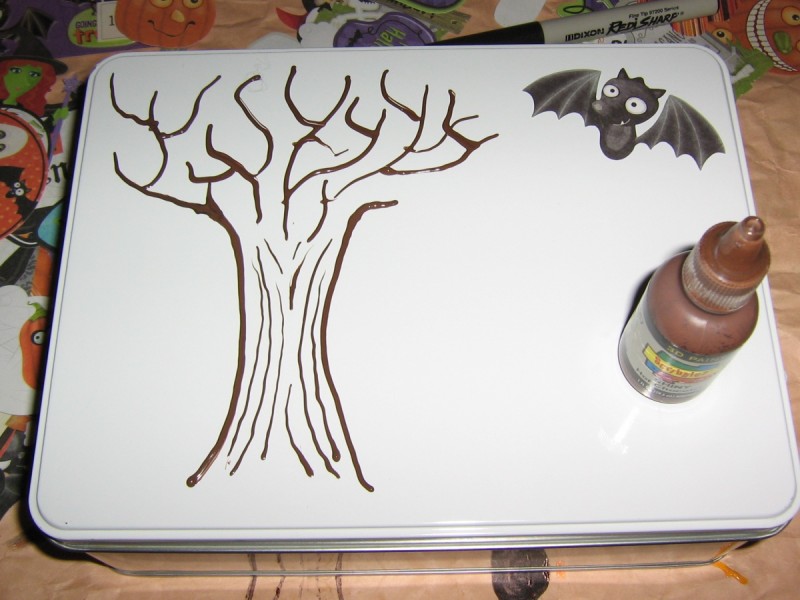
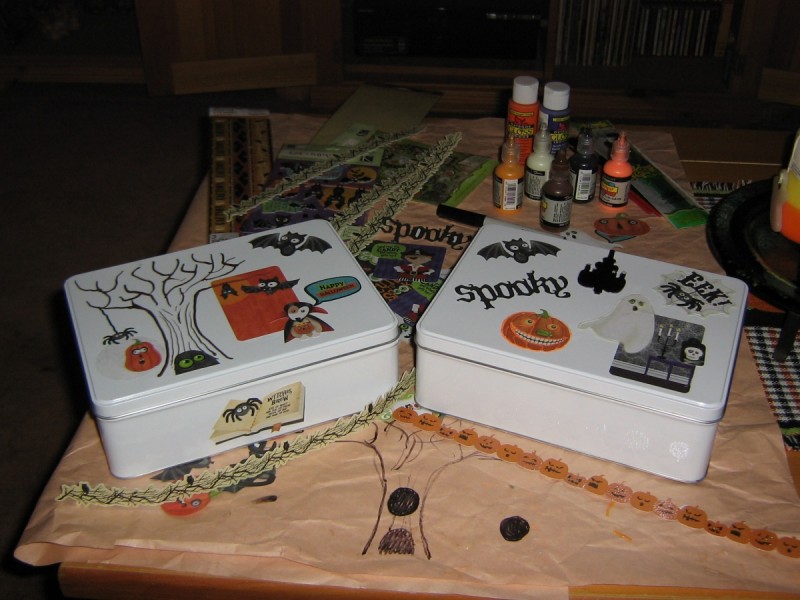
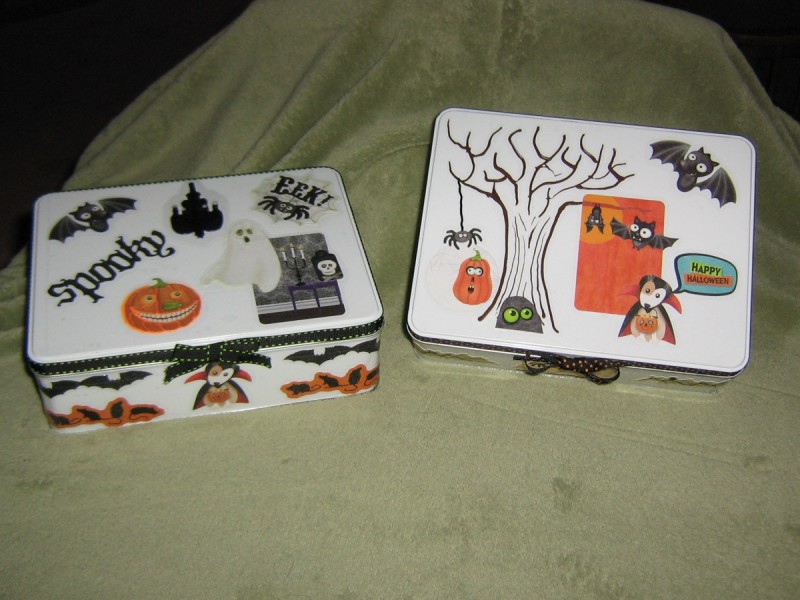
There were often times during Buddy's deployments where I wanted to include something special, but either the current craft I was working on was not completed, or I had no crafts in the making at all. Either way, hand decorated cookie tins always added a bit of pizazz to an otherwise hum-drum care package. In addition, this type of project can be used over and over again. Just two months ago, I decorated some containers for cookies to include in a birthday care package to my son. This month, I am using a Halloween theme for the tin of cookies that I am getting ready to send off.

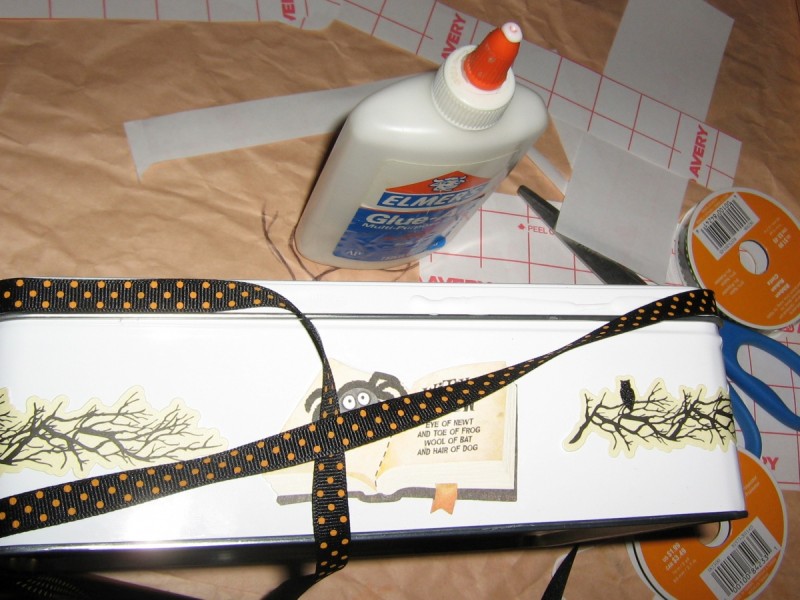
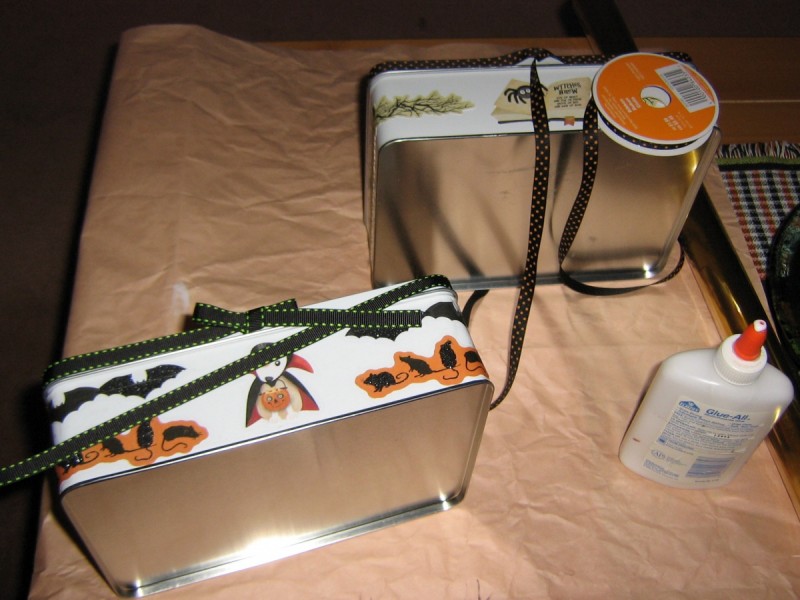
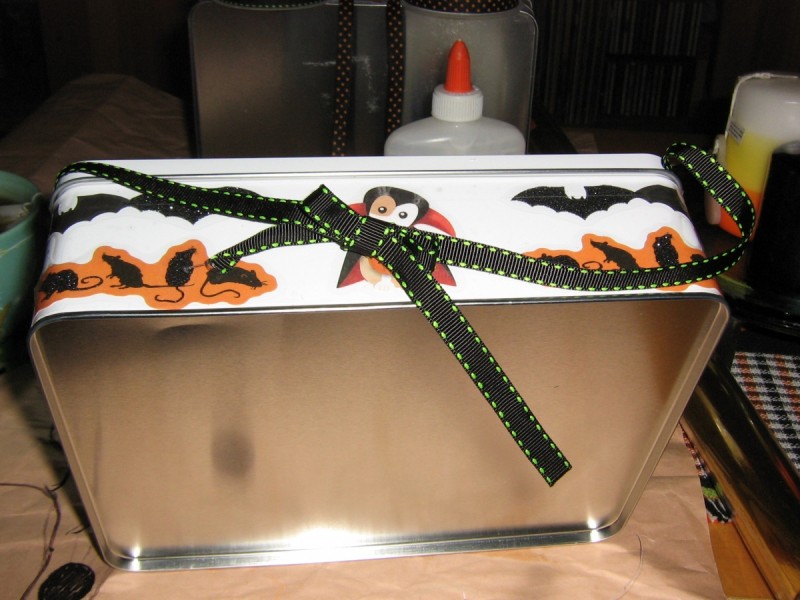
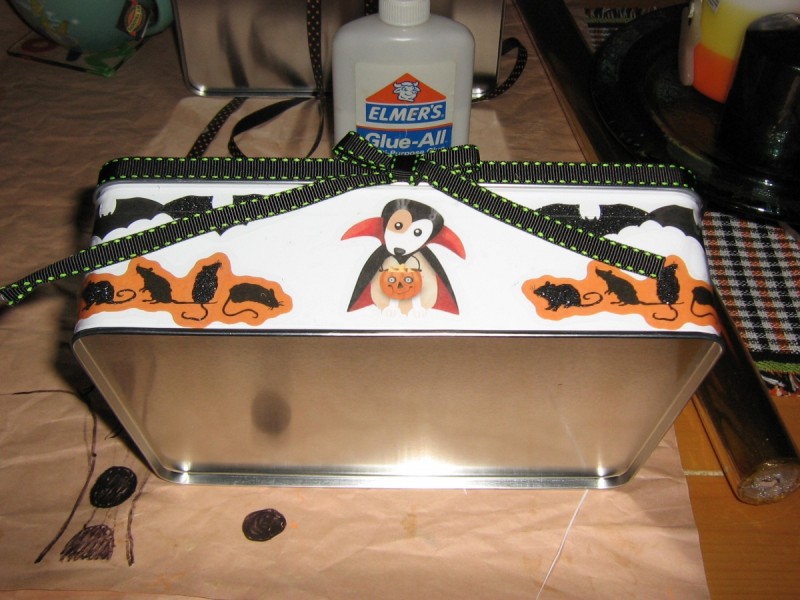
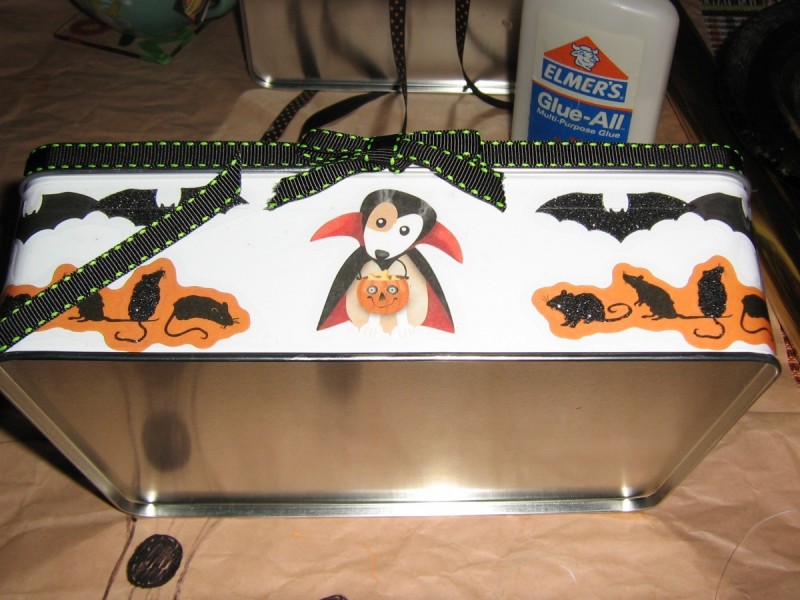
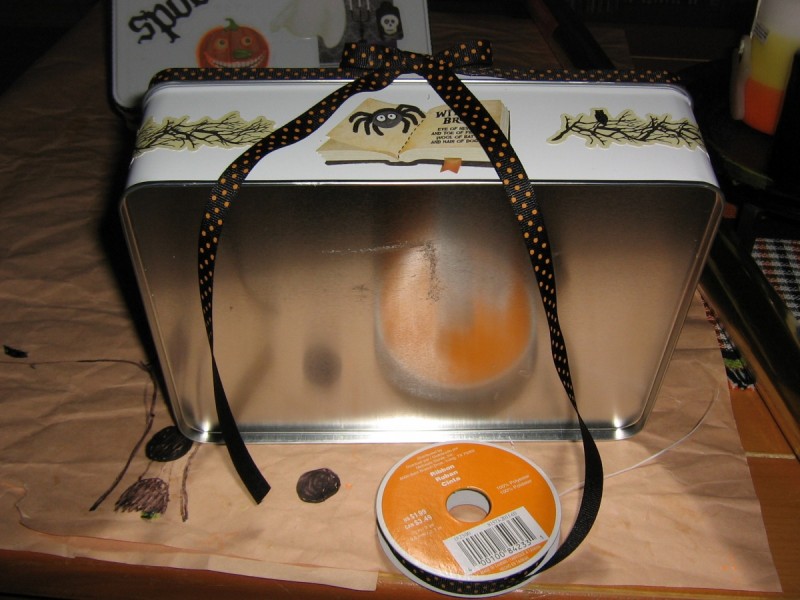
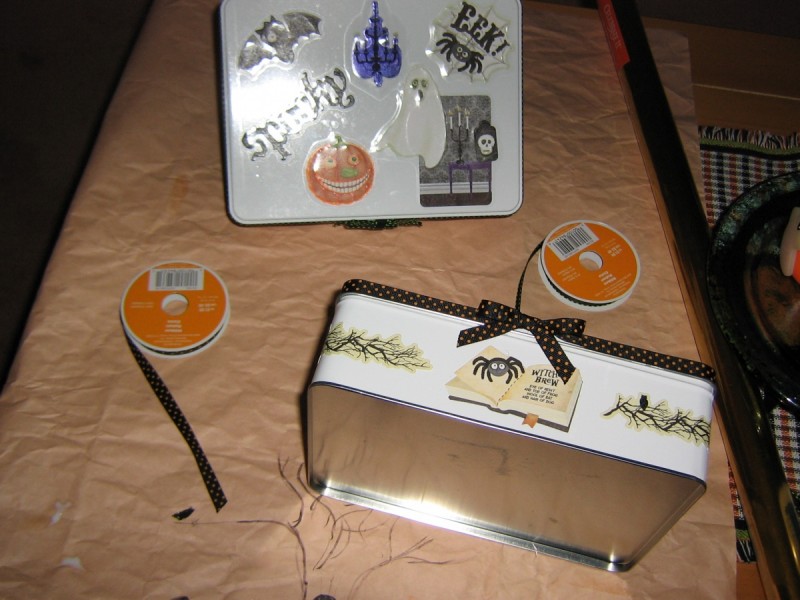
Glue the ribbon to the edge of the tin top first, leaving an unglued length of ribbon at each end, a small gap where you want the bow to be. Allow the glued ribbon to dry thoroughly. Tie the bow with the unglued ribbon. Adjust, tighten and clip the ribbon ends to an appropriate length.
OR
Loosely tie a small bow at one end of the ribbon. Place the center of the bow where you want it to sit on the edge of the tin top and leaving enough room to work with the bow, glue the ribbon to the tin top edge. Adjust often to make sure that, after connected, the bow will be where you planned. Also, make sure to leave an unglued length at the none bowed end and enough room to complete the bow. Work the loose end through the back of the bow. Apply glue to the tin top behind the bow and unglued areas of the tin top edge. Tighten the bow, around the tin top edge. Adjust and clip the ribbon ends to an appropriate length.
One Comment to “Decorative Cookie Tins”
innosilicon d9 firmware update • July 26th, 2018 at 8:47 am
Great article. Good to understand for everyone.